A creator should rectify exposure and white balance on each clip, then apply one shared grade. Using a connection frame keeps every video close to the same gaze.
Blog
How to Match the Look of Your Clips So Your Grid Feels Cohesive
When clips are recorded in different environments, lighting conditions or devices, they might not look similar. The background, the tone, and the consistency might make it feel vague to combine.
The good news – with grid workflows, even mixed footage can look similar. This means the one needs to stress less about different brightness, color temperature, saturation, and natural skin tones.
Sounds effective, right? Keep reading to learn how to match the look of your clips so your grid feels cohesive and visually aligned.
Table of Contents:
- Why Do Clips on a Grid Look Different From Each Other?
- What Does a Cohesive Grid Actually Look Like?
- What Is the Difference Between Color Correction and Color Grading?
- How to Match the Look of Your Clips Step by Step
- Which Tool Works Well for Matching and Grading Clips?
- What Mistakes Make a Grid Look Messy?
- Tips for Keeping a Consistent Look Across Every Video
- How to Match Clips Using an AI Editor
- Final Thoughts
- FAQ
Why Do Clips on a Grid Look Different From Each Other?
Differences in light, cameras, and settings result in an inconsistent look from one end to the other. The density of sun rays greatly varies from the rays in the evening. Indoor lighting from bulbs adds a unique color. As a result, two scenes with the same voiceover vary in look an constarts.
Auto settings make it worse. A camera may shift exposure and white balance mid-clip, so even a single video can drift in tone.
What Does a Cohesive Grid Actually Look Like?
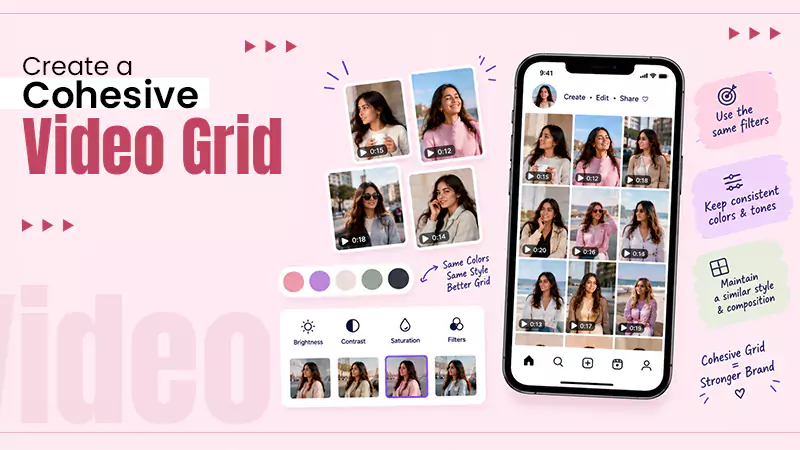
A cohesive grid means some similar-looking visuals across a post. This does not imply that each clip looks the same. The things might be noticed when looked at carefully.
The most common shared behavioural characteristics include:
- Similar brightness: no clip is much darker or lighter than its neighbours.
- Consistent color temperature: warm accounts stay warm, and cool accounts stay cool.
- Matching contrast: shadows and highlights behave the same way.
- Steady saturation: colors are equally vivid across posts.
- Natural skin tones: faces do not swing between orange and pale.
What Is the Difference Between Color Correction and Color Grading?
Color correction resolves issues, while color grading is used to form a separate look. Creators demand both with defined order.
Correction comes first. It brings exposure, white balance, and contrast to a neutral, accurate baseline. Grading comes second. It adds the creative style on top, such as warm tones, faded blacks, or a teal shadow tint.
Correcting after grading is a blunder. A look applied to an improperly balanced clip will look different on every video.
How to Match the Look of Your Clips Step by Step
Here is a simple workflow creators can repeat for every video:
- Pick a reference clip: Select the best clip or a frame that targets the look.
- Correct exposure: Bring each clip to a similar brightness, using a waveform if the editor has one.
- Fix white balance: Manage any color cast so that whites look white.
- Match contrast and saturation: Adjust until each clip sits close to the reference.
- Apply one shared grade: Include the creative look, then use it for every clip.
- Check skin tones: Faces are the first thing viewers notice, so they should look natural in every clip.
- Compare clips side by side: Use adjacent clips to find any remaining mismatch.
Can an AI Agent Match Clips to a Reference Look?
Yes, and this is where color work has become much faster. Instead of adjusting sliders clip by clip, a creator can describe the look in words or share a reference image, and an AI agent applies a starting grade across the footage.
Invideo editor uses this approach. The agent uses similar matching work on the timeline, and the creator manages controls. Each difference is clear, so nothing is locked.
Which Tool Works Well for Matching and Grading Clips?
A good tool for this job needs a few things. It should correct exposure and color balance, let creators describe or reference a look, and offer manual controls for fine-tuning. A real timeline matters too, so the result can be checked against neighbouring clips.
Invideo editor is a perfect match for creators who wish both speed and control, as invideo’s color grading helps users to mention the grade to an AI agent or share a reference image, and then refine the end result with color wheels, curves, and manual controls.
Other tools can do this job as well. Adobe Premiere Pro offers Lumetri Color for editors who prefer a manual workflow, and DaVinci Resolve is known for deep, node-based grading. The right pick depends on how much of the work a creator wants to hand off.
What Mistakes Make a Grid Look Messy?
Even good editors slip on a few common points:
- Over-grading: A sharp look might mix detail and form unnatural skin tones.
- Skipping correction: A shared filter cannot fix clips that start at different exposures.
- Grading on one screen only: What seems on a laptop can vary on a phone.
- Changing the style every week: A grid stays cohesive only when the look stays steady.
- Ignoring lighting at the shoot: Clips with the same light are easy to manage.
Also, learn the best ways to save TikTok videos in 2026.
Tips for Keeping a Consistent Look Across Every Video
A few habits make cohesion easier over time:
- Save a grade as a preset or reference frame and reuse it on every project.
- If possible, fix white balance and exposure on the camera.
- Shoot at similar times of day for better natural light.
- Use an AI agent to align new footage to the previous reference in invideo editor before making changes by yourself.
- Review the last nine posts together before publishing a new one.
How to Match Clips Using an AI Editor
Creators who want to try the agent workflow can follow these steps:
- In invideo.io, select Timeline Editor at the bottom of the prompt box, then form a blank timeline.
- Upload the clips in Media and add them to the timeline.
- In invideo Editor, build an agent and mention the look or share a reference image.
- Review the graded result, then fine-tune exposure, contrast, and color by hand.
- Now, save the look and reuse it for the upcoming batch of clips.
Mixed footage from different days is the best test. It shows quickly how well the grade holds across varied lighting.
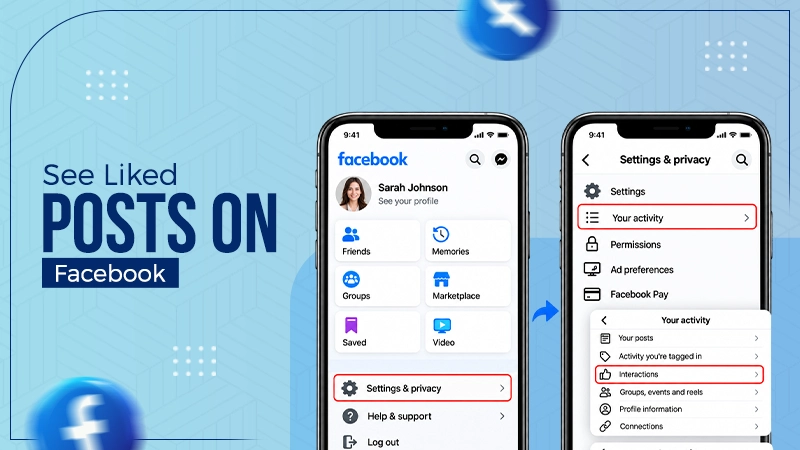
Also, explore a step-by-step guide to see liked posts on Facebook.
Final Thoughts
In the end, a uniform grid does not come from adding the same filter to each video. It comes from fixing each clip, arranging the visuals in an aligned way, and using a shared look as the final layer.
A reference clip can turn the process into a simple one, mainly when footage is a result of different days, locations, or cameras. With such a repeatable process, mixed footage can also lead to a profile that feels uniform and recognizable.
FAQ
1. How do I make videos look the same on Instagram?
2. Do all clips require the same filter?
Not always. A single filter functions only when clips start with similar orientation and color. Updating the clips first gives the filter a reasonable chance to look consistent.
3. What is the fastest way to color match considerable clips?
Using a reference image and an AI agent is the quickest route, since the agent applies a starting grade across numerous clips at once. Manual fine-tuning then bears the final differences. Invideo editor sustains both steps on one timeline.
4. Should skin tones remain the same in every video?
Yes. Skin tones should look natural and consistent from clip to clip, since viewers will detect color shifts in the characters first.
Related Post's